


If you've been to our house, you have surely noticed the blank wall above our stove, and the general lack of functional space in our tiny kitchen. Not that this has kept us from enjoying some tasty meals, having company over, and even hosting Thanksgiving, but it sure would be easier to get that turkey in the oven without the oddly placed counter jutting out into the middle of the room!
Our kitchen is one of the rooms in our house begging for updates the most (hello original 50s linoleum yellow counters, angled cabinet and counter crowding the entrance, cabinets that bless our dishes with a fine coating of saw-dust on a regular basis, and a portable dishwasher that takes up the entire kitchen when plugged into the sink ... you get the picture). But, for some reason we haven't done much besides purchase new appliances, replace the overhead light, and thread some make-shift under-cabinet lighting. Well okay, I know why we haven't jumped into gutting our kitchen and picking out dream countertops. $$$$. Kitchen renovations are known for their pocket-book-draining capabilities, and that's something we frugal homeowners can't quite come to terms with. So what do we do? We improvise, take it slow, and don all sorts of hats to get the job done ourselves.
One Friday evening in February, Evan played the role of electrician!
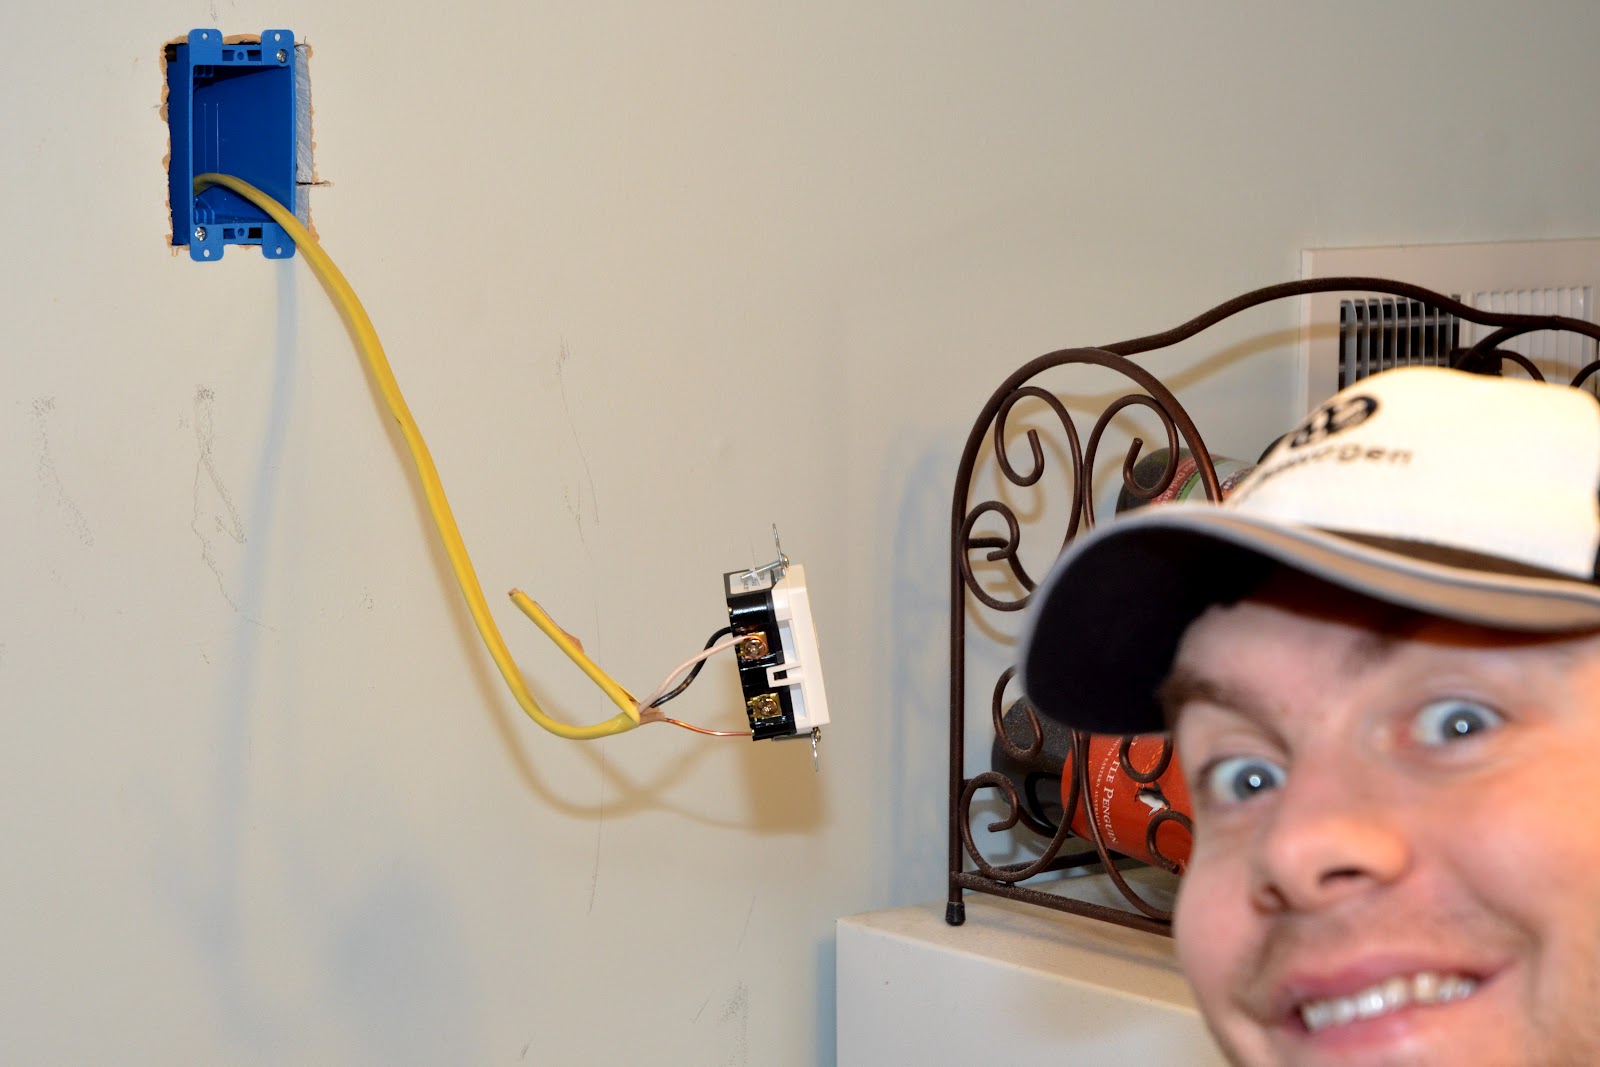
Don't worry, the power to the entire house was turned off, if that makes you feel better ; ) The task at hand? Installing a new microwave we scored at BestBuy for $100 (and then they discounted us an additional $10 for a little mix-up in the delivery process). We were definitely tempted by the sleek stainless steel models, but our stove is already white, so we thought it best to keep everything cohesive. And white is always cheeper, especially when you select last year's model!
 Evan lay a new electrical line with his dad in our basement a while back, so he was already familiar with the basic steps. But this would be a little more challenging as we needed to run the line from the box in the corner of the basement, run it along the basement rafters, drill a hole in the basement ceiling (we have an unfinished basement, thankfully, which made this project much easier), and thread the wire up to where we wanted to plug in our new microwave!
Easier said than done. We were lucky in the drilling process and our measurement estimates, and thankfully drilled our hole from the floorboards in the basement up into the wall - not the floor itself. This is what we were aiming for. But then the real challenge was getting said wire UP to where we wanted it on the wall. Wouldn't be so hard if some former owner/renovator hadn't stuffed insulation down there, even though it's an inside wall! Yea, bendy wire doesn't cooperate when trying to feed it through thick insulation. Let's just say that a certain wife was found threading a piece of pliable wood trim down there, with a wooded spoon attached to the end at one point in the process. We just wanted to make contact between the two holes at this point, and would worry about getting the wire in there later. Well, poor spoon didn't quite make it. He served up many a spaghetti dinner, but found his final resting place in the wall. tear.
But not to fear, in our desperation to string a path in our wall, we tried multiple techniques and finally strung the wire itself up from the basement -- and it worked! Hallelujah. Someone was getting a little grumpy his project wasn't going so well.
The next steps were easy: add the outlet box, connect the wires, and set the plate in place (all things Evan has done before). We were thrilled when we finally got the orange lights of approval from our handy dandy outlet-testing tool.

But this project wasn't nearly finished (when are they ever, really?). So Evan strapped on his workman's belt, literally:

And we hung our first cabinet!

You will notice we hung it a few inches down from the ceiling. This is to accommodate for some moulding to go along the ceiling, as per the style in the rest of our kitchen. It also let us hang the microwave at an almost-ideal height.

Yes, our microwave is a little high, but when you only have so many options for cabinet sizes (we got the stock shelves, unfinished at BMO). It should go nicely with our unusually tall shower head!

Microwave installation directions were quite simple to follow with the template you just tape to the wall.


You mount a large metal bracket, then sort of clip it in place (and there's a few other steps).


I'd say the most strenuous part of the project was getting the little cabinet installed above the fridge. I may have spent a good hour or so crouched on top of the fridge in all sorts of positions to keep the cabinet in place while Evan drilled and got her set. I learned your head can prove as an additional hand, when need be!

We know it looks a bit awkward having space under the fridge cabinet, but we have a duct going up there that we didn't want to move. Oh, and you can see in the photo above what we mean by our beyond-awkward cabinet jutting out towards the stove. Can't wait to fix that someday! We will likely end up painting the cabinets, but have to wait until we decide on the rest of the kitchen ... and that'll be a huge project!
Do you have any tips on renovating a kitchen on a budge or by yourself? We know it is quite the undertaking so would love to hear your secrets!
